Ronseal Diamond Hard Floor Varnish Clear Satin 2.5L (32583)
Ronseal Diamond Hard Floor Varnish Clear Satin 2.5L (32583)
Regular price
$220.00 SGD
Regular price
Sale price
$220.00 SGD
Unit price
per
Taxes included.
- Diamond Hard Protection
- Dries in just 30 minutes
- Extra tough against wear and tear
- Natural finish
-
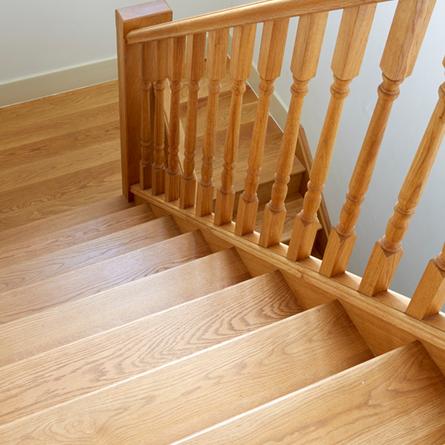
Our Diamond Hard Floor Varnish gives great protection.
It'll protect your floor from whatever daily life throws at it. Knocks, scuffs, spills and heels. You can get it in different wood shades, or if you like what you have, you can just protect it with our clear varnish.
-
RONSEAL DIAMOND HARD FLOOR VARNISH
We know varnishing your floor isn't a fun job, so why do it more often than you have to? This is the toughest varnish we do. So it'll last, keeping your wooden floors protected and looking great for longer.
BEFORE YOU START
Make sure the room is above 10°c. Take your furniture out and open your doors and windows.
Prep - Unvarnished Floors
We know prep is a paint, but it's worth it to get your floors looking their best.
Start by sanding your floor - This will give the wood an even finish and help the varnish to stick. The easiest way to do this is with a floor sander. Use 120 grit sandpaper and go along the length of the boards. Make sure to wear a face mask, because it creates a lot of dust. Let the dust settle. Then give it a vacuum and wipe it down with white spirit. If you notice any holes or imperfections use our Multi Purpose Wood Filler to fill them in.
Prep - Varnished Floors
This depends what state your floor is in.
If the old varnish is just in need of a refresh, give it a light sand with 120 grit sandpaper. Let the dust settle. Then give it a vacuum and wipe it down with white spirit.
If your floors aren't in good condition or the varnish is flaking off, sand the floor back to bare wood using a floor sander. Look at the Prep - Unvarnished Floors section to see how to do it.
USING YOUR FLOOR VARNISH
Give the varnish a really good stir and test the colour on a small area. Using a 4"� brush, start in the corner furthest from the door and work along the length of 2 floor boards at a time. You don't want to varnish yourself into a corner!
You'll need 3 coats to give you the best protection. Leave 2 hours between each coat.
Before the 3rd coat, give your floor a very light sand along the length of your floorboards with 240 grit sandpaper (don't use a floor sander for this bit).
Wipe down with a damp cloth.
Then put the 3rd coat down. You'll be able to walk over it in just 2 hours.
Wait 24 hours before putting your furniture back and be careful not to scrape your floor. After 72 hours it'll be tough enough to stand up to just about anything.
Usage Areas: All interior wooden floors.
Compatibility: Bare and previously varnished wood.
Clean Up: Clean all brushes with warm, soapy water
Product features
Product features
Materials and care
Materials and care
Merchandising tips
Merchandising tips